Sheet Metal Fabrication Process, Step by Step: From DFM to Delivery
Engineering Team Anjue Metal | Reading time | Process Guide | 10 min read | Updated Feb 18, 2026
Buyers often ask: "what actually happens after I send my drawing?" This article walks through the eight steps a professional sheet metal factory follows - and where quality is really created in each one. Understanding the route helps you ask better questions and get better parts.
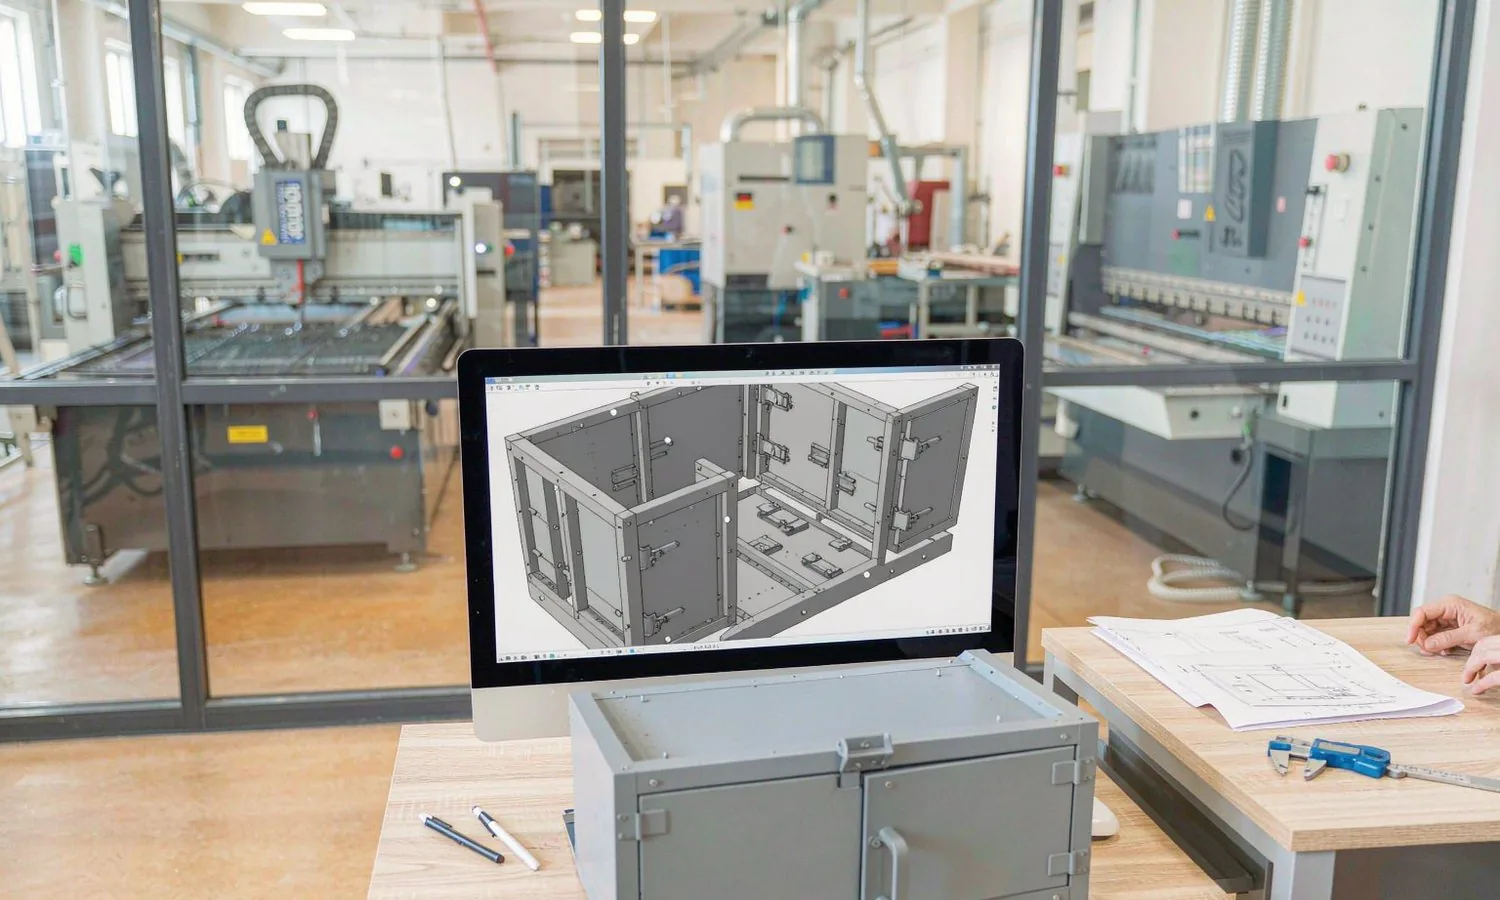
1. Engineering & DFM Review
The most valuable step costs you nothing. The factory checks bend radii against material thickness, flags holes too close to bend lines, verifies that the flat pattern will fold into your 3D shape, and confirms weld access and assembly sequence. Good DFM comments save both sides money.
What to send: STEP or STP for formed parts (best), DXF 1:1 for flat parts, plus PDF of the drawing with tolerances marked. Material, thickness and finish must be stated - if you are unsure, a good factory recommends options rather than guessing.
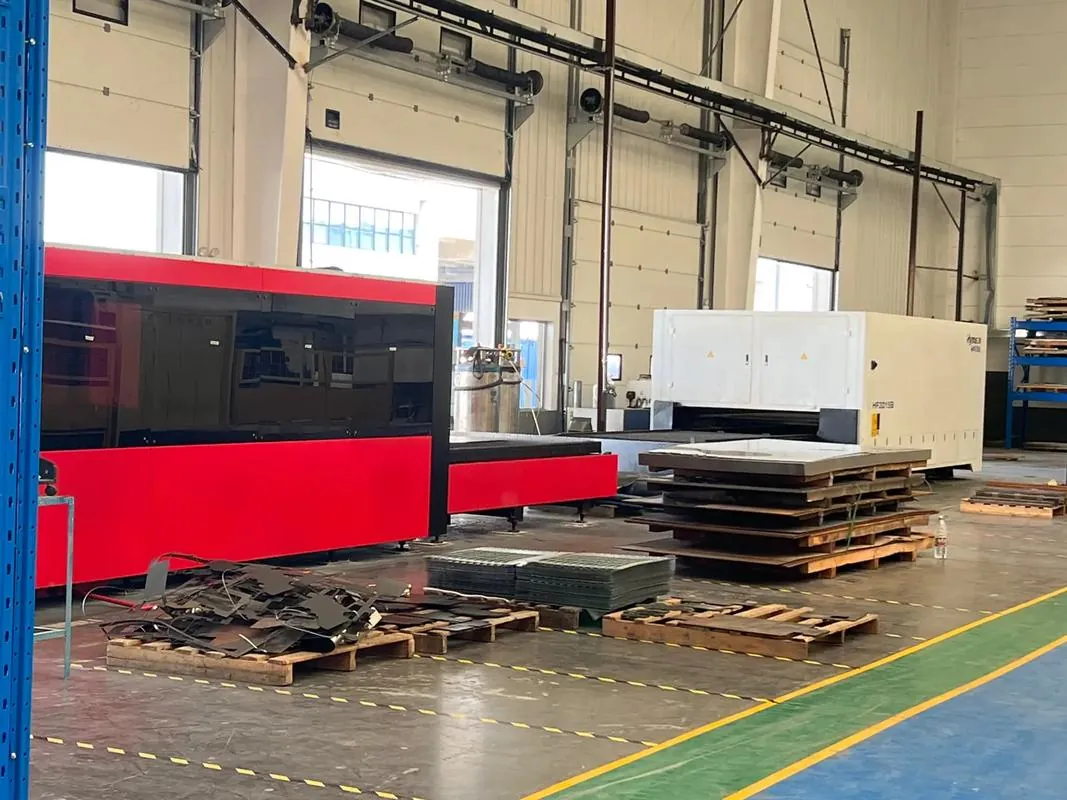
2. Fiber Laser Cutting
High-wattage fiber lasers cut the flat profile with +/−0.1 mm accuracy and clean, burr-free edges. Because the cut is thermal but precise, edge quality here determines downstream coating adhesion and whether grinding is needed before finishing. Good nesting (arranging parts on the sheet) also reduces material waste - typically 10-20% of cost.
3. CNC Press Brake Bending
The flat sheet becomes a 3D structure here. Synchronized CNC press brakes form cabinet bodies, flanges, sealing channels and load-bearing bases. Springback is compensated by calculation, not guesswork - this is what separates a part that fits on the first assembly from one that fights you.
Bend accuracy typically lands around +/−0.15 mm on critical dimensions and +/−0.5 degree on angles. Ask your supplier which dimensions they treat as "critical" and how they verify them.
4. Welding
Depending on material and function: TIG for cosmetic stainless steel, MIG for structural carbon steel, spot welding for thin-gauge assemblies. Welded geometry, seams and spatter are inspected before the surface finish - because finishing hides nothing; it reveals everything.
For stainless parts intended for food, medical or marine use, plan for grinding, brushing and passivation after welding to restore corrosion resistance.
5. Surface Finishing
The finish is not decoration - it is corrosion protection, UV resistance, hygiene and brand identity in one layer. Common choices:
- Powder coating: any RAL color, textured or smooth, tough and repairable
- Anodizing (aluminum): clear, black or color; hard coat available
- Brushing / polishing: decorative stainless and aluminum
- Plating: zinc/nickel for internal steel parts
Pre-treatment quality (degreasing, conversion coating) decides how long the paint lasts - ask about it if the product is outdoor.
6. Hardware & Assembly
PEM nuts, studs and threaded inserts are pressed in with hydraulic presses; hinges, locks, gaskets, feet and labels are installed. Parts can ship flat-packed, kitted, or as ready-to-wire sub-assemblies. Assembly is also where clearances - doors, locks, panel fits - are finally proven.
7. Inspection Gates
Inspection is placed where the risk is created:
- Bending check - formed dimensions and direction vs. drawing
- Welding check - geometry, seams, spatter, preparation
- Assembly check - doors, locks, feet, clearances, visible fit
- Packaging check - protection, separation, movement control
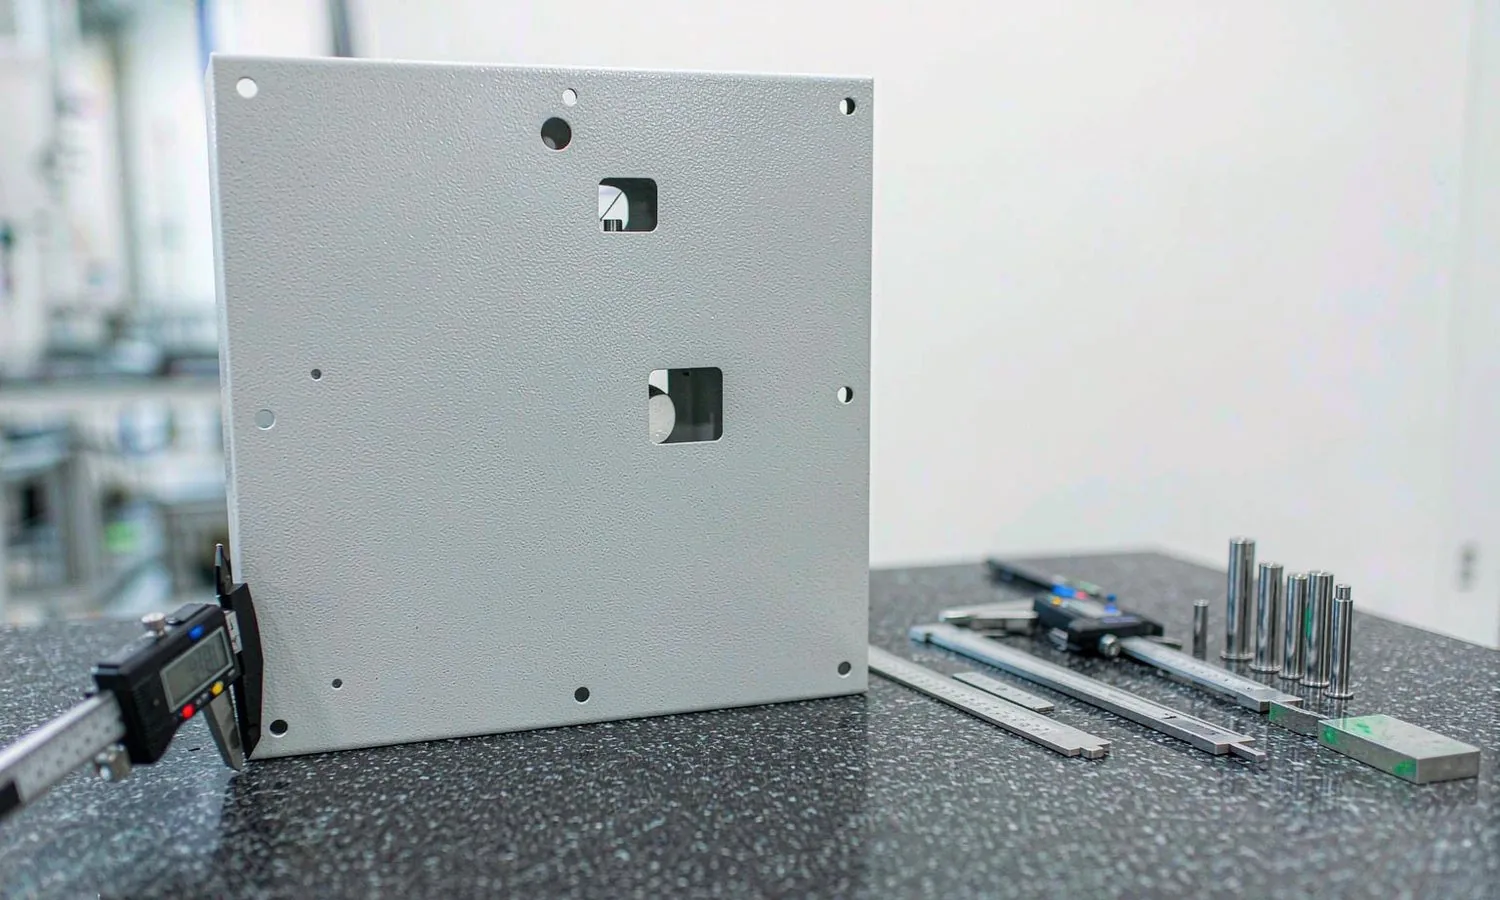
First articles are measured and reported before batch release; color and surface are verified against approved chips.
8. Packaging & Shipment
Export packaging is engineered per part: protective film on visible surfaces, foam and corner guards, cartons, palletizing and container planning for the destination. Before dispatch, photos (and on request, videos) document the actual state of your goods - a simple habit that prevents most arrival disputes.
Full article series: see our manufacturing process page and quality & certification details.
Frequently Asked Questions
A prototype can ship in 5-10 working days after drawing approval. Serial production typically takes 15-30 days depending on quantity, finishing, assembly and packaging requirements.
Unclear drawings - missing tolerances, unspecified material/finish, or last-minute design changes. A complete RFQ with a 3D file and a marked PDF avoids most delays.
Yes - we provide production and packaging photos, and can coordinate video checks for critical projects before shipment.
We apply DIN 6935 / GB-T 15055-m style tolerance concepts as a baseline and treat your marked critical dimensions as the real specification.
Ready to start your project?
Send a drawing or a rough idea - our engineers will guide the rest.